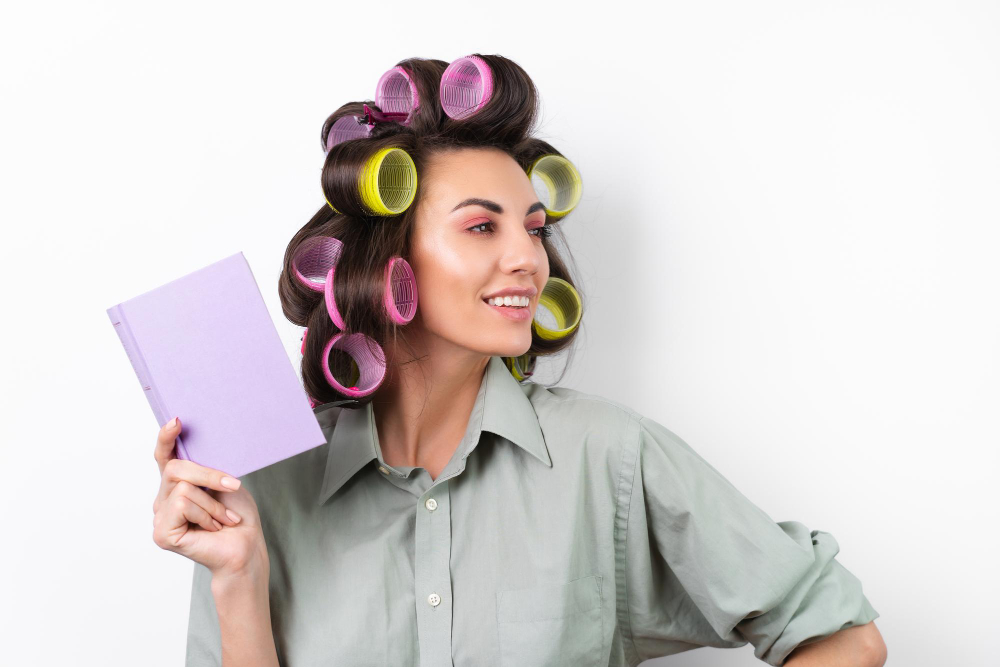
How to Use Hair Rollers
Hair rollers have been a staple in hairstyling for decades, offering a versatile and convenient way to achieve voluminous curls, waves, or sleek styles without the need for heat styling tools. Whether you’re aiming for bouncy curls or sleek, straight hair, mastering the art of using hair rollers can help you achieve your desired look with ease. Let’s explore the ins and outs of using hair rollers and uncover some tips and tricks for achieving salon-worthy results.
Size Matters
Before diving into the world of hair rollers, it’s essential to choose the right type and size for your desired hairstyle. Hair rollers come in various shapes and sizes, including foam rollers, Velcro rollers, heated rollers, and traditional plastic or metal rollers. Smaller rollers create tighter curls or waves, while larger rollers produce looser, more voluminous styles. Consider the length and texture of your hair when selecting rollers, as well as the type of curl or wave you want to achieve.
Start with Clean, Dry Hair
For best results, start with clean, dry hair before using hair rollers. Wash and condition your hair as usual, then towel dry or blow dry until it’s completely dry. Avoid applying any heavy styling products, as these can weigh down the hair and prevent the rollers from gripping properly. For added volume and hold, you can apply a lightweight mousse or styling spray to damp hair before rolling.
Divide and Conquer
To ensure even curl distribution and maximize the effectiveness of your hair rollers, it’s essential to section your hair properly before rolling. Divide your hair into small, manageable sections using clips or hair ties, starting from the bottom and working your way up to the crown. The size of each section will depend on the size of your rollers and the thickness of your hair, but aim for sections that are approximately the same width as the rollers.
Technique is Key
Now comes the fun part: rolling your hair! Take a small section of hair and comb it through to remove any tangles or knots. Place the roller at the end of the section, then roll it upward toward the scalp, wrapping the hair tightly around the roller as you go. Once you reach the scalp, secure the roller in place using clips, pins, or the roller’s built-in fastener, making sure it’s snug but not too tight. Repeat this process for each section of hair, working your way around your head until all of your hair is rolled.
Patience is a Virtue
After rolling your hair, it’s essential to allow it to set properly to ensure long-lasting curls or waves. The amount of time needed for your hair to set will depend on various factors, including the type of rollers used, the thickness of your hair, and the desired level of curl or wave. As a general rule, it’s best to leave the rollers in place for at least 30 minutes to an hour to allow the hair to cool and set fully. For a more defined curl, you can leave the rollers in for longer or even overnight.
Unveiling Your New Look
Once your hair has set, it’s time to remove the rollers and reveal your stunning new style. Start by gently unfastening each roller and carefully unwinding the hair, taking care not to disrupt the curls or waves. If you encounter any resistance, use your fingers to help guide the hair off the roller without pulling or tugging. Once all of the rollers have been removed, use your fingers or a wide-tooth comb to gently tousle and shape the curls, then finish with a spritz of hairspray for added hold and shine.
Mastering the Art of Hair Rollers
In conclusion, hair rollers are a versatile and effective tool for achieving a wide range of hairstyles, from bouncy curls to sleek waves and everything in between. By selecting the right rollers, preparing your hair properly, sectioning it carefully, rolling with precision, allowing it to set, and removing the rollers gently, you can achieve salon-worthy results in the comfort of your own home. So go ahead, experiment with different roller sizes and techniques, and unleash your creativity with the magic of hair rollers.